
MARCH 2021:
PART 2 OF A MONTHLY SERIES – GETTING THE BEST PHOTO:
Camera lens filters are elements added onto the lens to protect the lens, or to enhance/alter the light, as it passes through the lens to expose the film or digital film. By using a filter you are able to utilize a vast array of effects, lens protection, eventuate necessities, take better closeup object shots. Nothing, and I mean nothing– is worse than losing an expensive lens due to scratches, etching, weather related damage, etc. It can happen in a second! A filter can be easily replaced. There is much choice when it comes to purchasing a filter, and sometimes the right combination of using filters can make or break that perfect photo. The use of filters can be for several reasons, sometimes more than one can be used at a time. Here is an article for the proper use of camera lens filters.
- Protection for your lens
- Control, correct and enhance color
- Render Accurate Exposure
- Maximize impact on your photo
Formats of Filters
- Screw-On Filters
- Drop-in Filters
- Square Filters, drop or snap on
- Rectangular Filters, drop or snap on
Formats of filters are totally a personal preference. All formats whether they be screw on, drop in don’t exactly cause a difference in effect, but may impede speed between shots, making the choice a factor when it comes to action.
Popular Filter Types
- Ultraviolet and Skylight Filters
- Polarization Filters
- Neutral Density Filters
- Graduated Neutral Density Filters
- Color Correction Filters
- Close-Up Filters
- Special-Effect+ Filters
| Lens Filter |
Effects | Photography Type |
|---|---|---|
| UV/Skylight Filter |
|
All Type
|
| Polarizing Filter |
|
All Type
|
| ND Filter (Neutral Density) |
|
Landscapes
&
Flash Photography
|
| Hard Graduated ND Filters |
|
Landscapes
|
| Soft Graduated ND Filter |
|
Landscapes
&
Sunsets |
| Reverse Graduated ND Filter |
|
Landscapes
&
Flash Photography
|
| Colored Filter |
|
All Type
&
B & W
&
* = Color Correction
|
| Close-Up Filter |
|
Macro Photography
|
| Special Effects Filters |
|
All Type
|
Exponential Value of Using Filters
The type(s) of filters desired or necessary to make a perfect shot can vary, and multiple filters can make for the best shot. A lot of filters have different densities. The table will show the factor of your filter, and the f/stops reduction involved with using the filter. Using more than one filter always tacks on both filters, and the involved f/stop reduction. Sometimes, more light is not a good thing, so the neutral density filter collection can assist in obtaining the perfect shot.
ND Filters
| Optical Density |
Filter Factor |
f stop Reduction |
| 0,3 | 2 | -1 |
| 0,6 | 4 | -2 |
| 0,9 | 8 | -3 |
| 1,2 | 16 | -4 |
| 1,5 | 32 | -5 |
| 1,8 | 64 | -6 |
| 2,1 | 128 | -7 |
| 2,4 | 256 | -8 |
| 2,7 | 512 | -9 |
| 3 | 1024 | -10 |
Neutral Density Notation Factor
| ND-1 Number Notation |
ND-1 Decimal Notation |
ND Number Notation |
f stop Reduction |
Transmit Percent |
Example Shutter Speed |
| NONE | NONE | NONE | 0 | 100% | 1/1000 |
| ND 101 | ND 0.3 | ND2 | 1 | 50% | 1/500 |
| ND 102 | ND 0.6 | ND4 | 2 | 25% |
1/250 |
| ND 103 | ND 0.9 | ND8 | 3 | 12.5% | 1/125 |
| ND 104 | ND 1.2 | ND16 | 4 | 6.25% | 1/60 |
| ND 105 | ND 1.5 | ND32 | 5 | 3.125% | 1/30 |
| ND 106 | ND 1.8 | ND64 | 6 | 1.562% | 1/15 |
| ND 107 | ND 2.1 | ND128 | 7 | 0.781% | 1/8 |
| ND 108 | ND 2.4 | ND256 | 8 | 0.391% | 1/4 |
| ND 109 | ND 2.7 | ND512 | 9 | 0.195% | 1/2 |
| ND 110 | ND 3.0 | ND1024 | 10 | 0.01% | 1 |
| ND 111 | ND 3.3 | ND2048 | 11 | 0.049% | 2 |
| ND 112 | ND 3.6 | ND4096 | 12 | 0.024% | 4 |
| ND 113 | ND 3.9 | ND8192 | 13 | 0.012% | 8 |
-
-
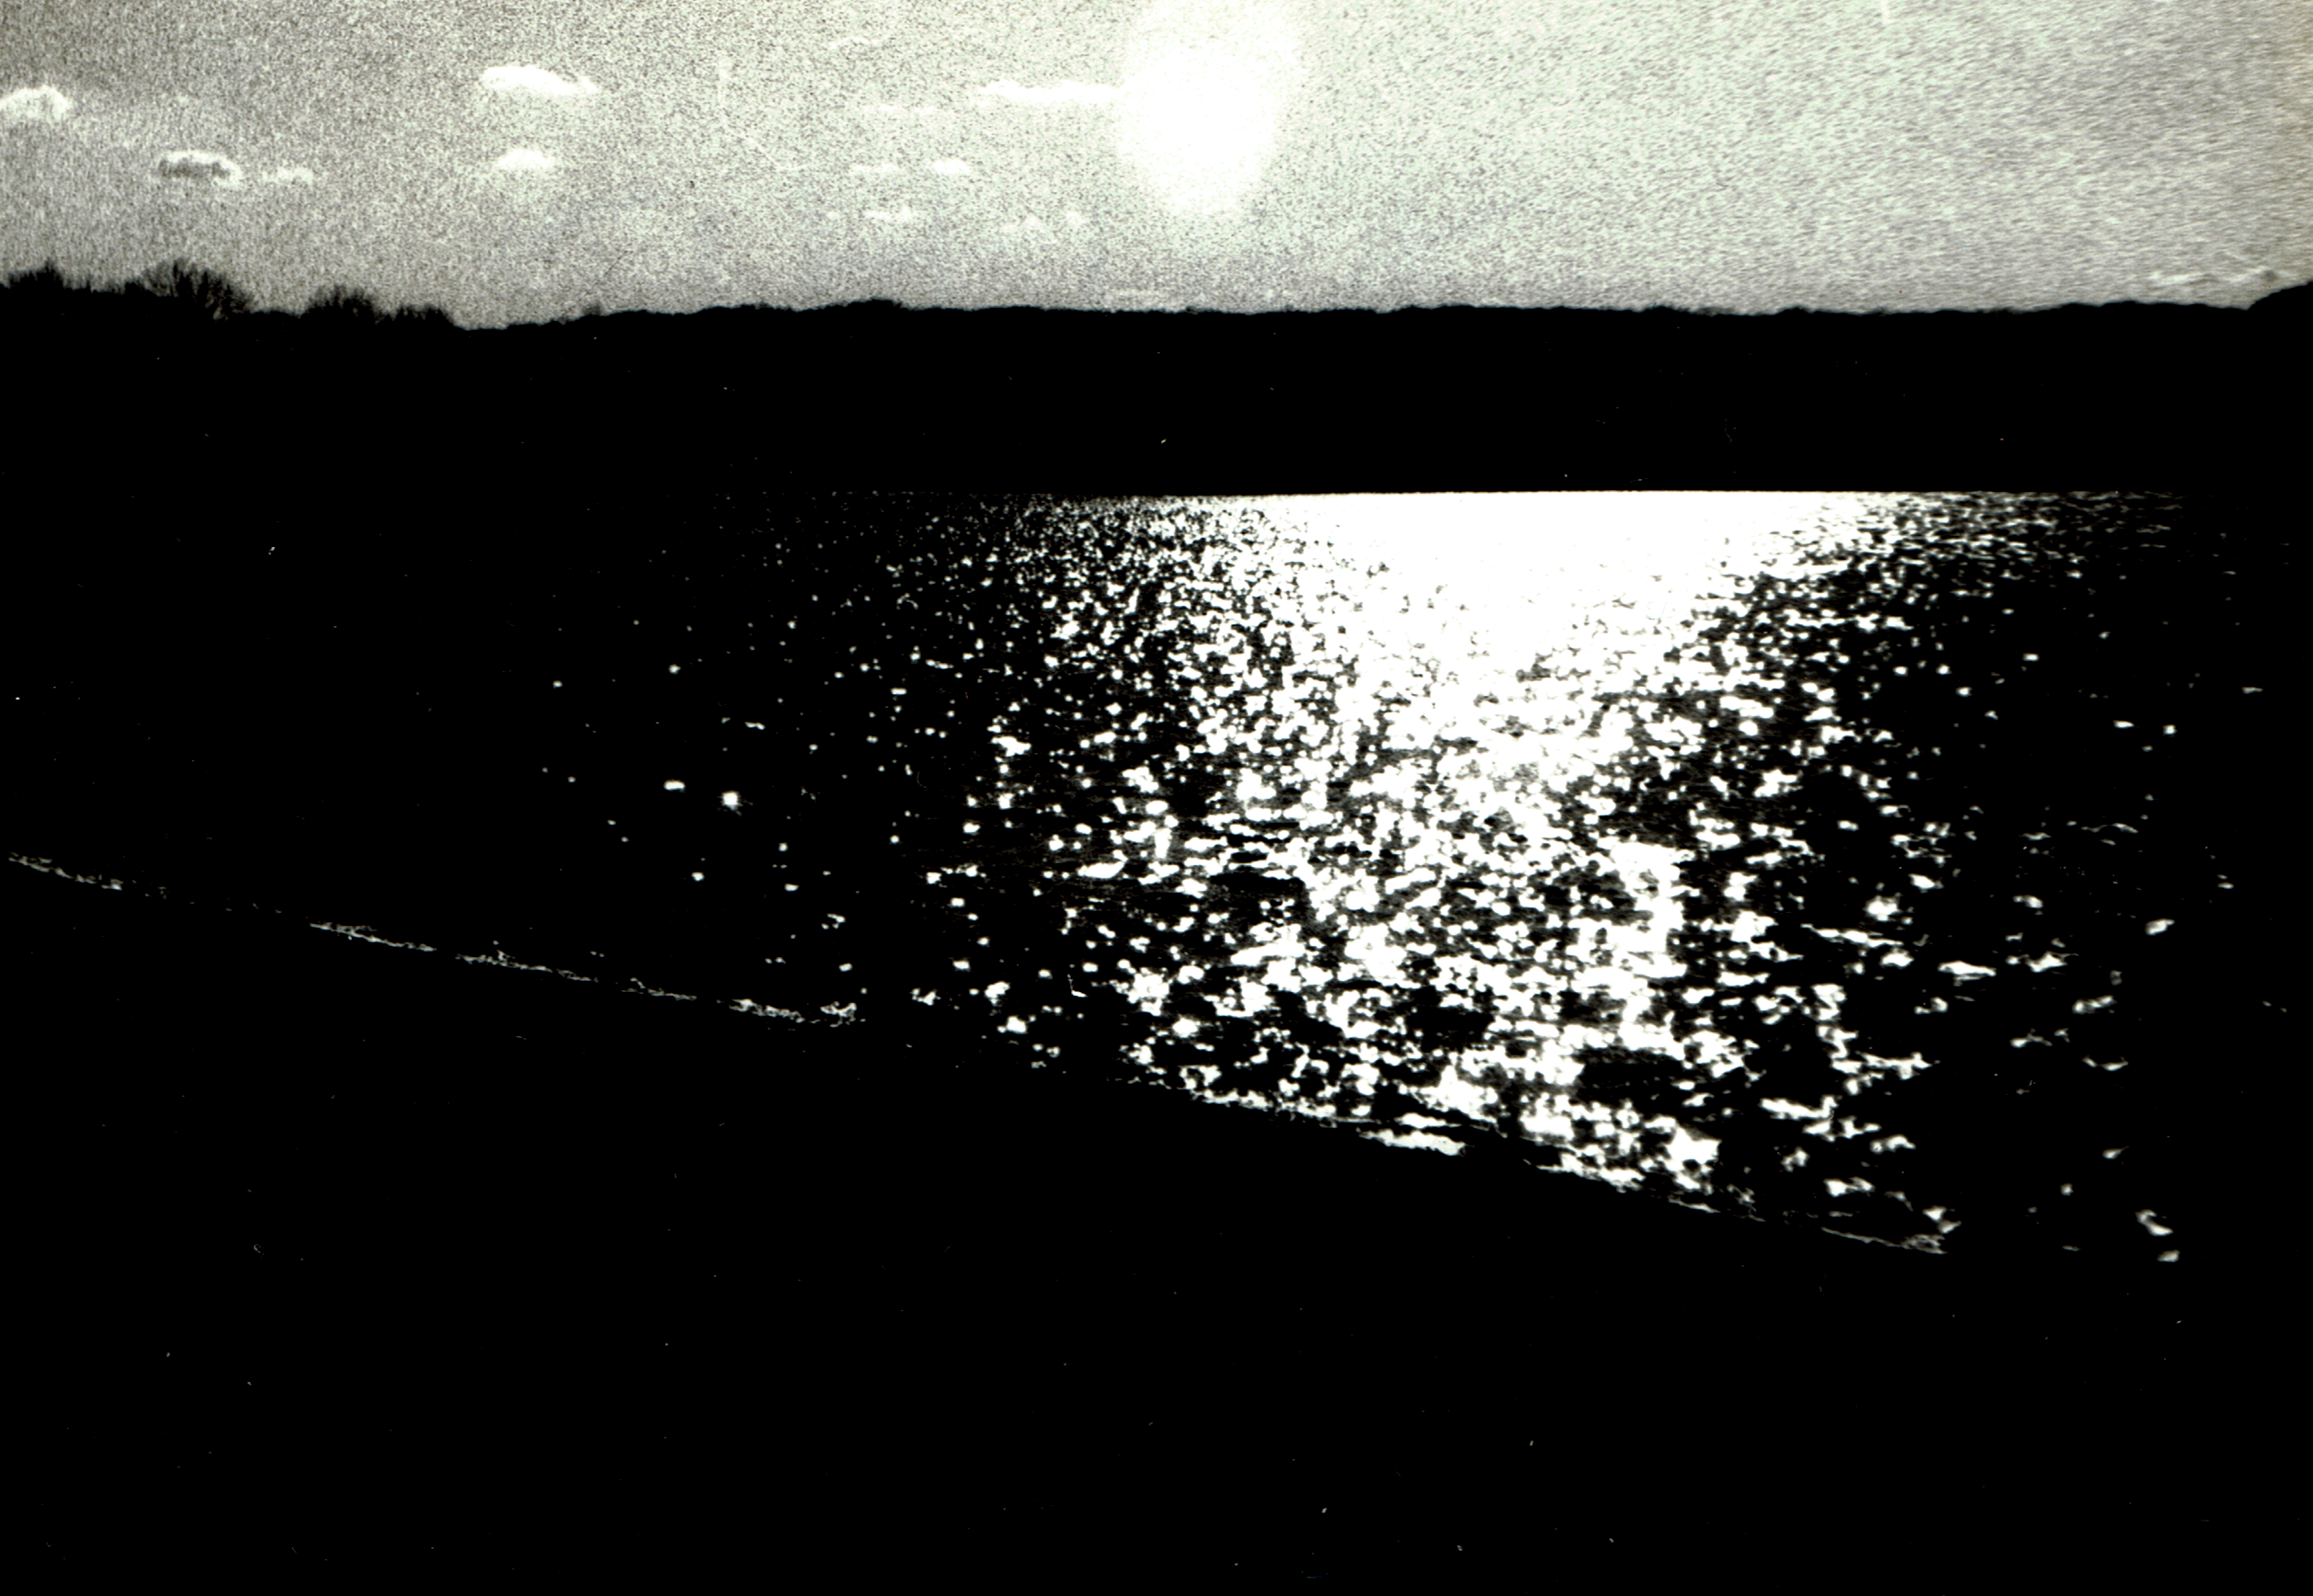
No Enhancement
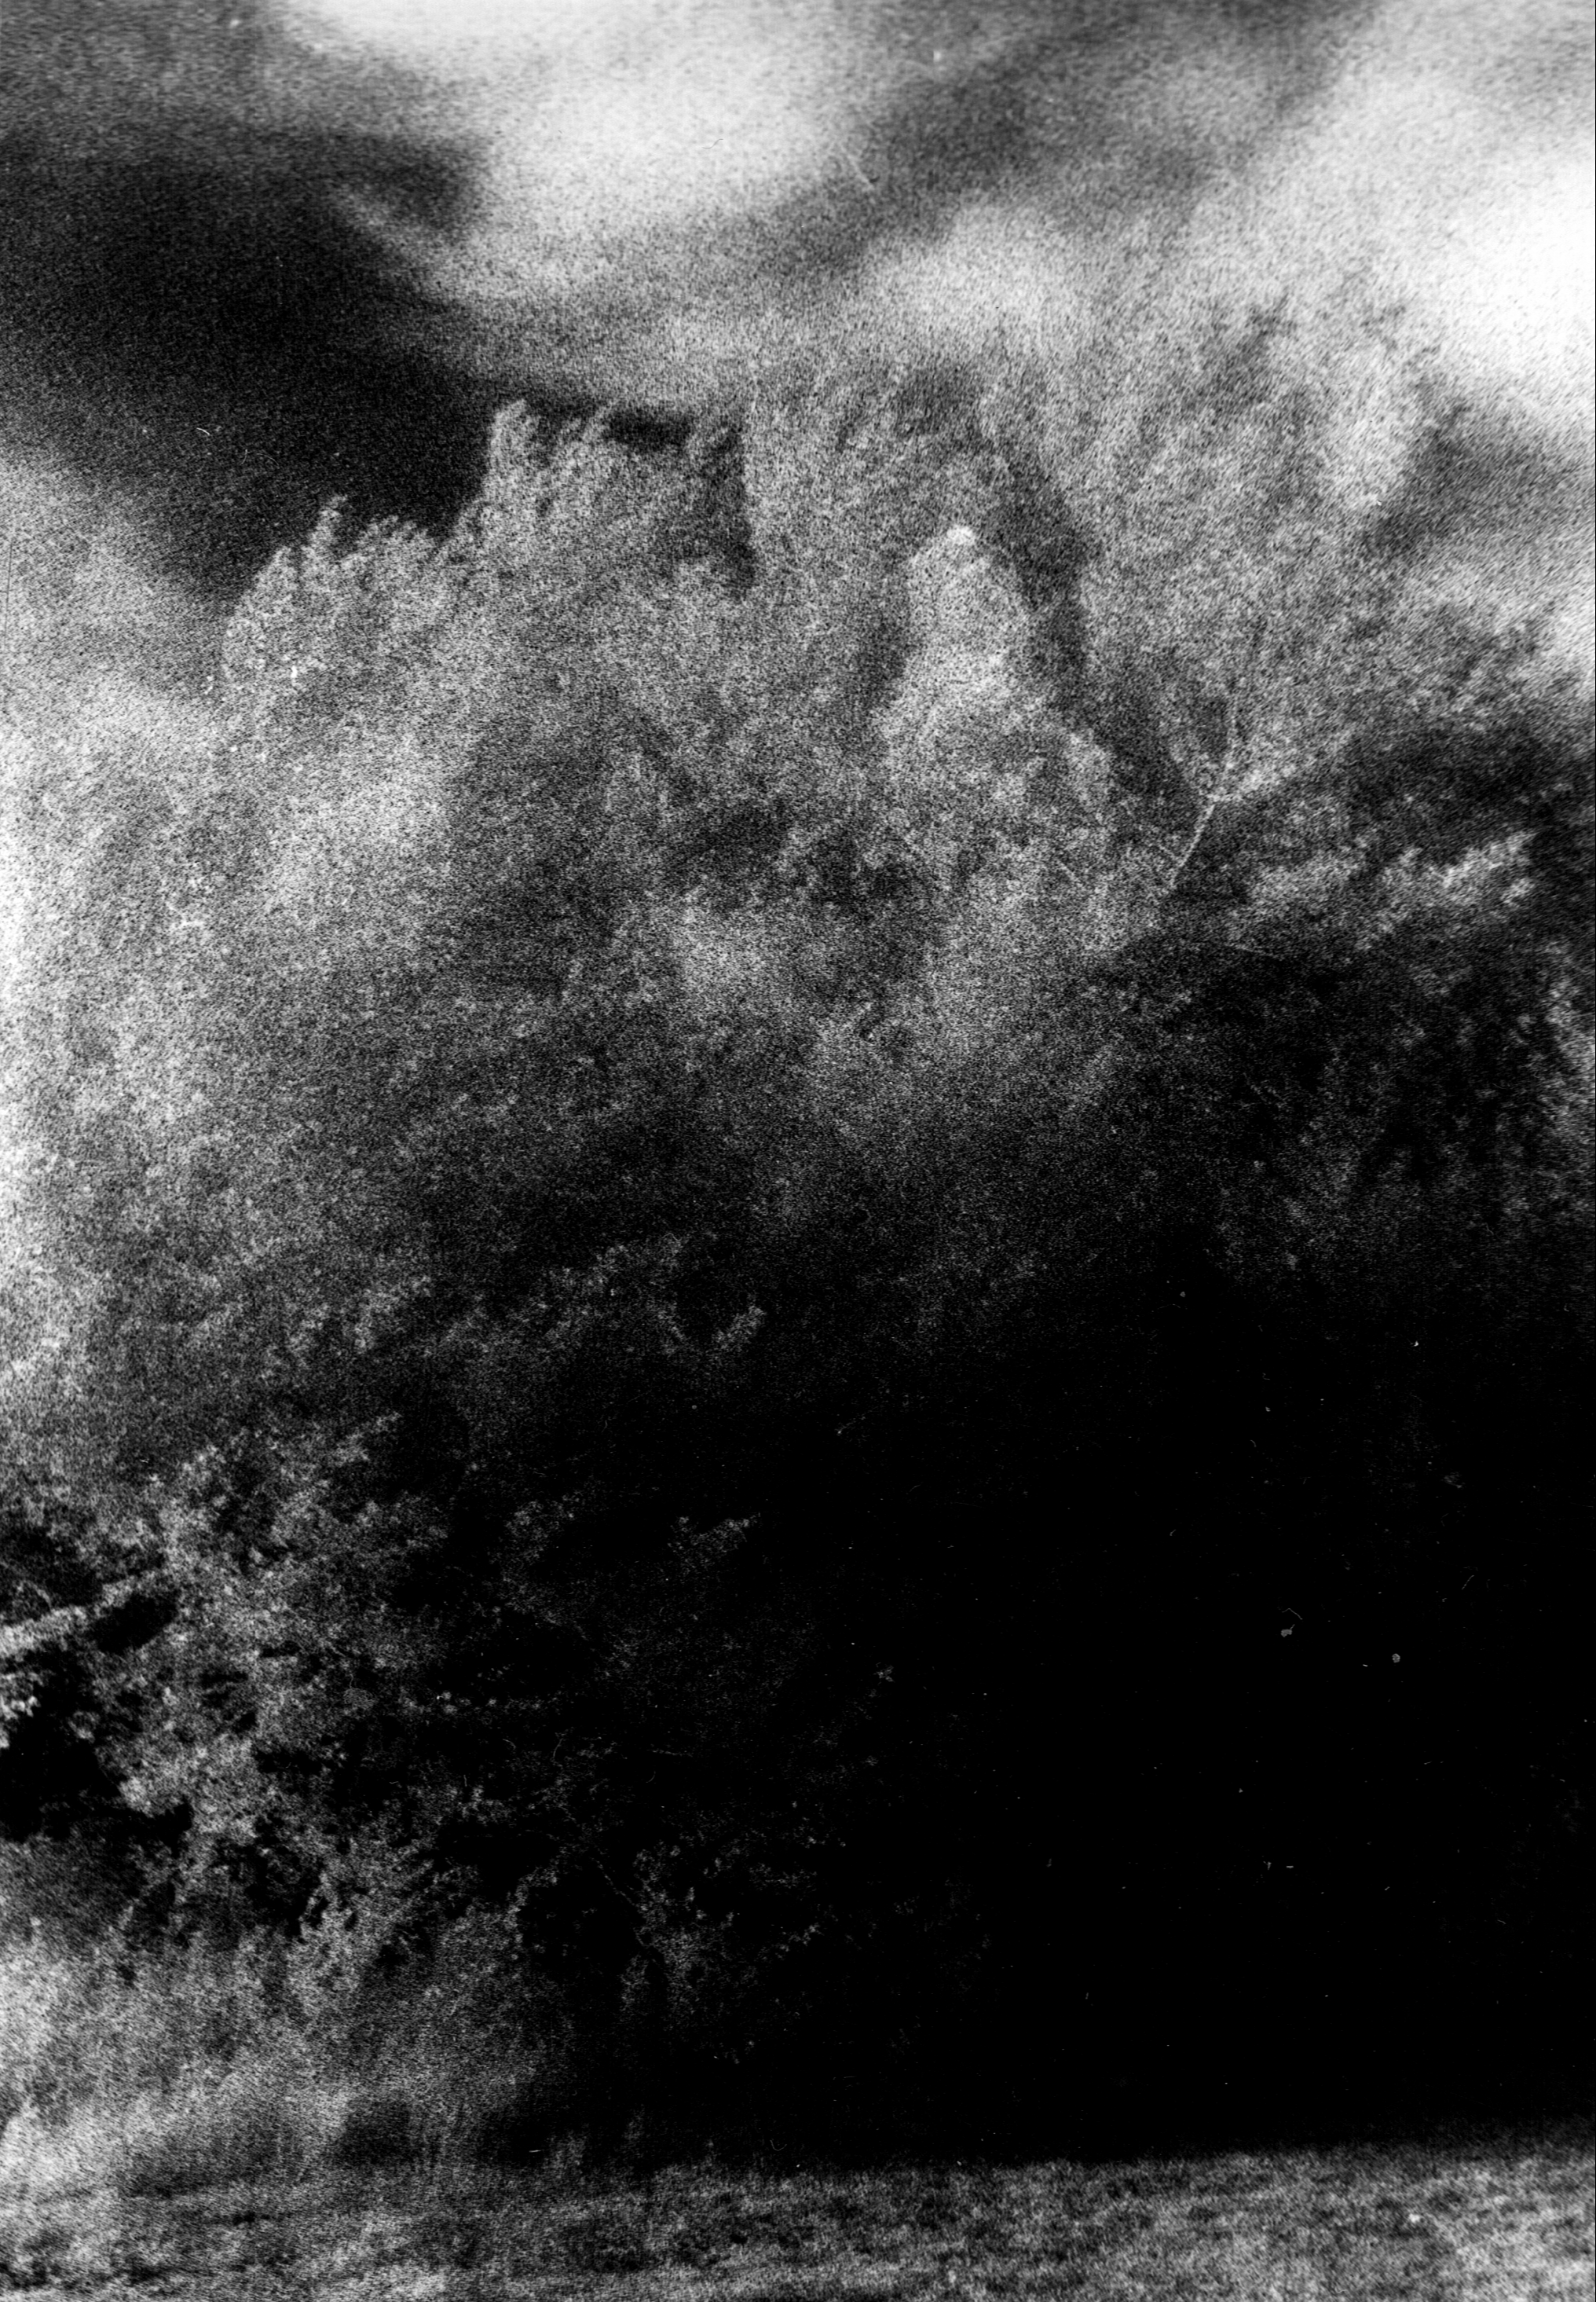
Photo of the Day: Obscure Darkroom Magic Day 9
©2020 Versatileer
-
-
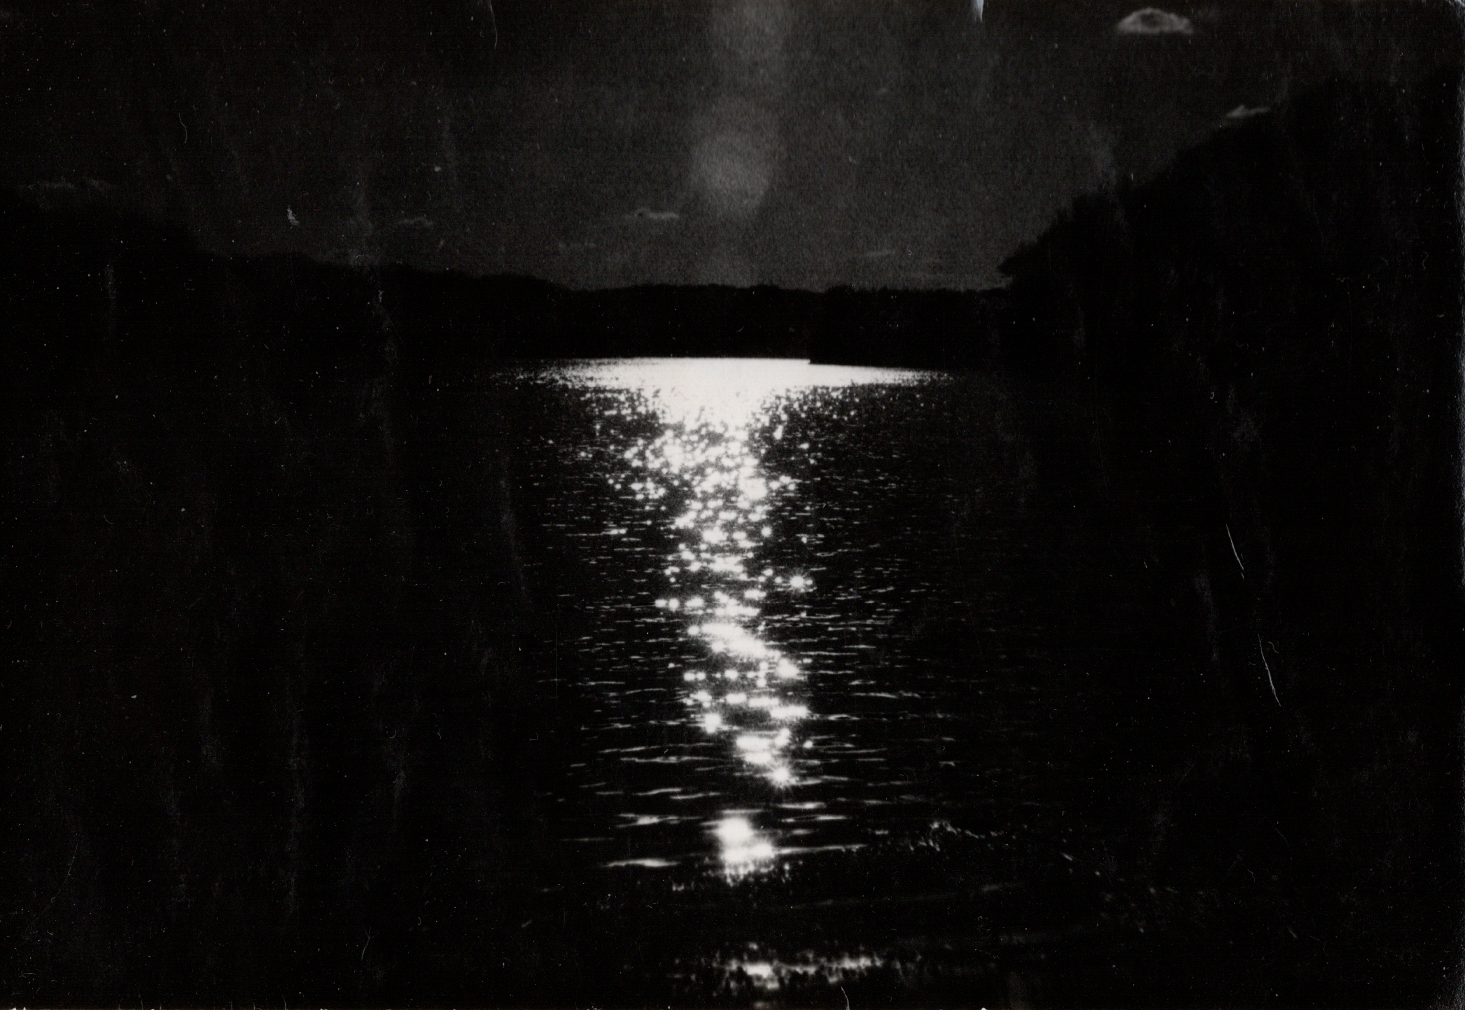
12.5% Shadow Enhancement
Filter #ND8
©2021 Versatileer
Color Correction to Balance the White Light
Use of different types of film or digital Pseudo-film necessitates a special type of color correction to get the spectrum to balance to render the correct white balance. In other words, using a daylight film, without a flash with incandescent lighting will render yellowed out photos, and using tungsten film outdoors in daylight will render blue photos. Also taking photos in florescent lighting is always a tricky lighting situation. A filter is made to meet the need of any situation. Color balancing can also improve your astronomical photos as well, as the light that twinkles through Earth’s atmosphere can be corrected to yield really stunning photos with the use of the right filter.
White Balancing Filters
| Physical Lighting |
Film Type |
Filter Need |
f stop Reduction |
| Noon Daylight | Tungsten | Yellow 12 or 85 | ⅓ or 0.33 |
| Daylight |
Tungsten | Yellow 85B | ½ or 0.5 |
| Astronomy & Tungsten | Daylight | Blue 80A |
½ or 0.5 |
| Incandescent | Daylight | Blue 82A | ⅓ or 0.33 |
| Fluorescent to Daylight |
Daylight | FL-D | ⅓ or 0.33 |
| Fluorescent to Tungsten | Tungsten | FL-T | ½ or 0.5 |
The Light Spectrum in Photographer’s Terms
| WB Settings |
Color Degree |
Light Source |
| 10,000°- 15,000°K | 🔵 | The Blue Sky |
| 6,500°- 8,000°K |
☁️ | Cloudy or Shaded |
| 6,000°- 7,000°K | ☀️ | Noon Sunlight |
| 5,500°- 6,500°K | ⛅ | Average Daylight |
| 6,000°- 5,500°K | ⚡✨ | Electronic Flash |
| 4,000°- 5,000°K | ⌛ | Fluorescent Lighting |
| 3,000°- 4,000°K | 🌇 🌅 | Objects at Sunset-rise |
| 2,500°-3,500°K | 💡 | Incandescent Lighting |
| 1,500°-2,500°K | 🔦 | Tungsten Lighting |
| 1,000°- 2,000°K | 🎂🔥🌅 | Candle-Flame-Sunset |
-

-
No Color Correction
©2021 Versatileer
-

-
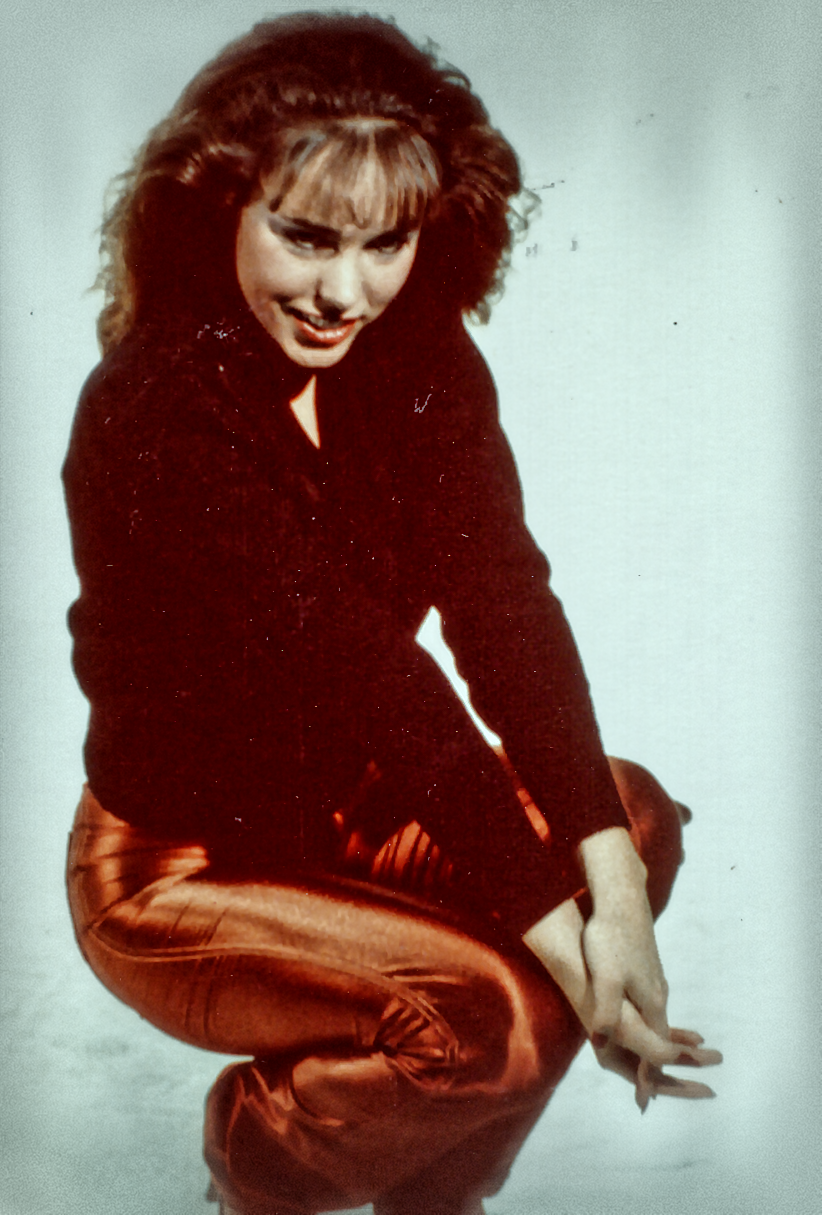
Incadescent Lighting
©2021 Versatileer

-

-
Use Blue 80A with Flash
©2021 Versatileer

-

-
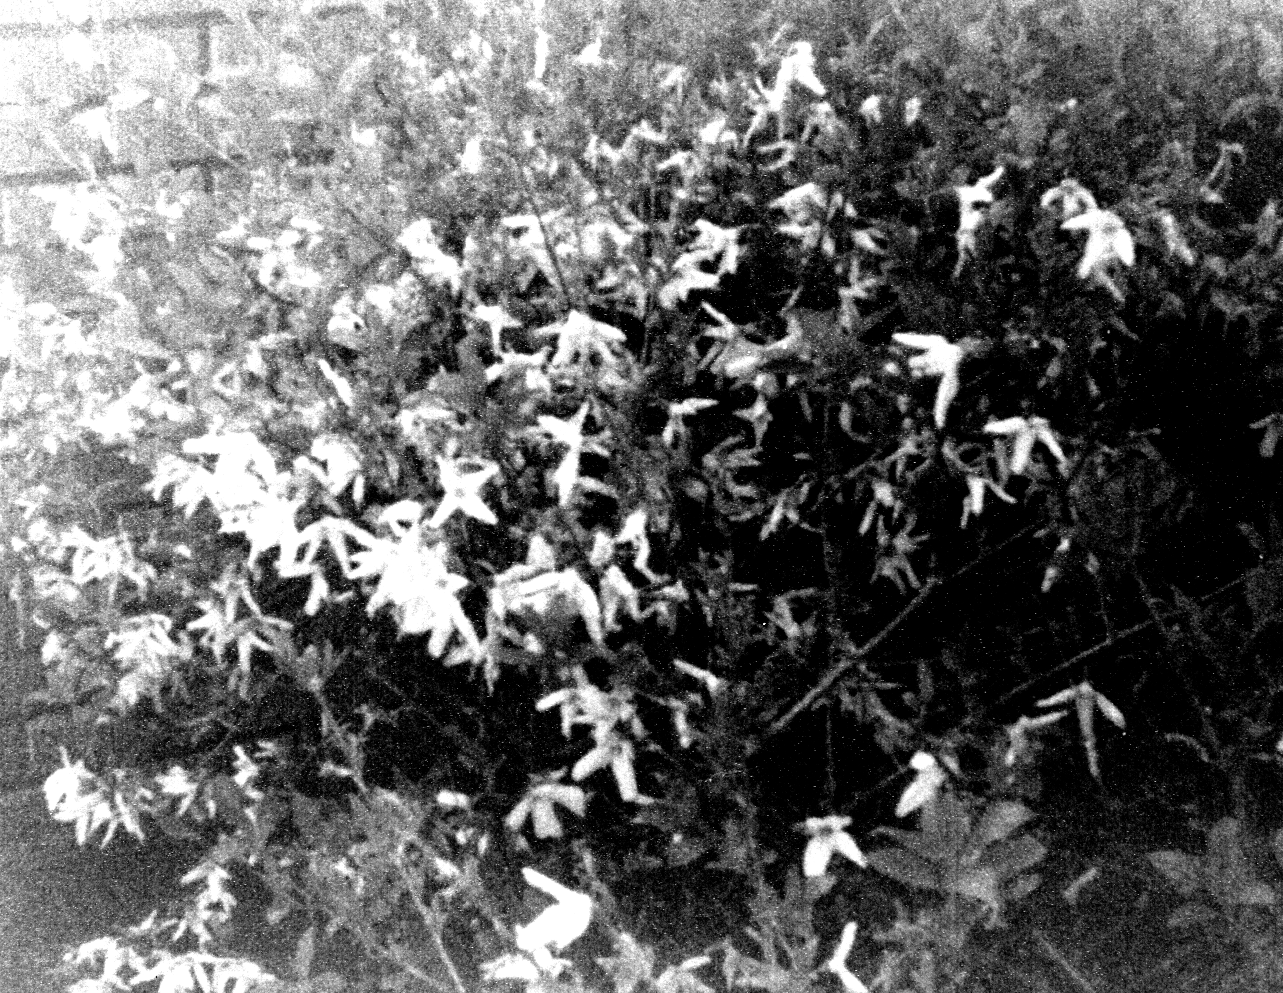
Flourescent – No Correction
©2021 Versatileer

Photos taken at the 1982 Chicago Photo Show at McCormick Place, Chicago, IL
Effects of a Polarizer
Polarizers can make a dramatic effect in the quality of your photos. It can be utitlized for so many types of photos, but is inherently used for outdoor photography including landscapes. The effects as dialed into the filter as you turn the dial on the filter to a different degree gives you minimized and maximized effects. It also doubles up to cause effect on reflection as well, but the factor effect can be off that of glare, due to the same effect light has on lineage as it passes through the water, except it has the mirror effect, so it is actually reverse to the direction of going through the water when it reflects. Dialing in to get the effect you want is a must, when it comes to getting your desired effect with a polarizer. The points in between can give you a more or less desired effect, and I don’t always attest that using maximum effect is always best policy. Sometimes, a polarizer is not a good choice, as in the example below of the Theodore Roosevelt Fountain at Brookfield Zoo, because the polarizer did affect the rainbow, as in omitting it completely from the photo.
Polarizer
| Degree of Rotation |
Desired Effect |
Outcome |
| 0° & 360° | NO EFFECT |
Lose 1 f stop |
| 90° |
Maximum |
Minimal reflection/Glare & -1 f |
| 180° |
NO EFFECT | Lose 1 f stop |
| 270° |
Maximum | Minimal reflection/Glare & -1 f |
-

-
Minimized Polarizer
Theodore Roosevelt Fountain at Brookfield Zoo
©2021 Versatileer

-

-
Maximized Polarizer
Theodore Roosevelt Fountain at Brookfield Zoo
©2021 Versatileer

-

- Maximized Polarizer ©2021 Versatileer

-

- Minimized Polarizer ©2021 Versatileer
Black and White
Black and white photography has a whole avenue of filtering unseen to the color world, and desired effects can be dramatically enhanced by use of them. Remember complimentary colors match, conflicting colors contrast. You can see by the example below that the red rose is affected completely by the color of the filter used. Also original color matters, so yellow will never be a dark shade of grey, no matter how hard you try. . .
Black & White Filters
| Filter Color | Declination f Stop |
Effect Red Object |
Effect Yellow Object |
Effect Green Object | Effect Blue Object |
Effect Purple Object |
| Red-25 or 25A |
-3.0 f stops >☼< |
Light or White |
L/M Grey |
Midnight Grey |
Midnight Grey |
Medium Grey |
| Orange-G or “O” |
-2.0 f stops >☼< |
Light Grey |
L/M Grey |
Dark Grey |
Midnight Grey |
Dark Grey |
| Orange- Yellow |
-1.5 f stops >☼< |
L/M Grey |
Light or White |
Medium Grey |
Midnight Grey |
Midnight Grey |
| Yellow-K2 or 12 |
-1.0 f stop >☼< |
Medium Grey |
Light or White |
Light Grey |
Medium Grey |
Midnight Grey |
| Green X1 |
-2.0 f stops >☼< |
Midnight Grey |
Light or White |
Light or White |
L/M Grey |
Dark Grey |
| Blue 82A |
-1.2 f stops >☼< |
Midnight Grey |
Light Grey |
Light or White |
Light or White |
Medium Grey |
| Blue 80A |
-1.33 f stops >☼< |
Midnight Grey |
L/M Grey |
Light Grey |
Light or White |
L/M Grey |
| Purple FL-D |
-1.33 f stops >☼< |
Dark Grey |
L/M Grey |
L/M Grey |
Light Grey |
Light or White |
| Purple FL-T |
-1.66 f stops >☼< |
Medium Grey |
L/M Grey |
Medium Grey |
L/M Grey |
Light or White |
-

-
Green X1 Filter
©2021 Versatileer

-

-
Red 25 Filter
©2021 Versatileer

-

-
No Color Corrrection
©2021 Versatileer

-

-
No Enhancement
Sunset 5/24/81
©2021 Versatileer

-

-
Yellow #10 Filter
Sunset 5/24/81
©2021 Versatileer

-

-
Red #25 Filter
Sunset 5/24/81
©2021 Versatileer

Infrared
Infrared photography can be both color and black and white. They both have sharp effects and can be used in industry for definite assets. Infrared photography requires the use of colored filters, no matter which you choose. In the film days, the black and white variety was so high speed, a red filter was always required no matter what! The film was so high speed that infrared and shooting at noon with high ISO black and white films were the only time you really did not need a tripod using a red #25 filter or Wratten filter. It also needed to be transported in a black lid container, and needed to be developed within hours of shooting. The color variety was not as drastic, but still needed a yellow filter. Use of any other color with black and white yielded overexposed rolls of film. Use of other colored filters, other than yellow filters for infrared color film looked like the shots were taken on another planet, and were not properly color balanced, as in the skies being too purple. Also, a polarizer was a definite plus while shooting infrared. So the final table covers shooting infrared.
Infrared Filters
| Filter Color |
Declination f Stop |
Exposure Effect |
Infrared Type |
| Red 25 or 25A |
-3.0 f stops >☼< |
Great Shots |
B&W (FILM=HIE) |
| Yellow K2 or 12 |
-1.0 f stop >☼< |
Great Shots |
COLOR (FILM=SLIDE) |
| Polarizer |
-1.0 f stop >☼< |
Refer to Polarizer Chart |
ALL |
-
-
B&W – Red #25 Photo of the Day: 9/24/19
©2019 Versatileer
More on the The Spectrum of Light
The wonderful organization PublicLab.org has a photo that I am sharing with you and I offer you the opportunity to donate to PublicLab.org to the great cause they are. They have assisted photographers for many years, and do a lot in the way of assisting those starting out in the field of photography and professionals as well. The graph shows the cause and effect of both the special ultra-violet filter used in labs and the red Wratten #25A (infrared complimentary).

Photo courtesy of PublicLab.org
The Spectrum of Light
Don’t forget that the PublicLab.org can be a very, very useful organization for tips and pointers on photography, and offers seminars and other outlets of fine information. Please JOIN today!
Join me back next month with another subject of photography, to assistance in getting a better photograph.

hosein ashrafosadat at Pexels
Another monthly aspect of photography next month: A monthly series
Easy Control of Your Camera
Content © 2021 Versatileer
More on Versatileer:
 Prayers are with Florida and the Gulf Coast States: Here Comes Hurricane Michael10/10/2018
 Ends 11-08 – War of the Land by Dana Claire Book Blitz + $50 Amazon Gift Card Giveaway11/07/2023
 Conformation Winners at the 146th Westminster Kennel Club Dog Show – 202206/23/2022
 Happy National Popcorn Day – 202401/19/2024
 Ends 12-31 – 6 p.m. – #LIVE Facebook Party – After Days of Christmas + $50 Giveaway12/26/2022

Thank you for sharing this
This is really cool and very interesting. Thanks for all of this info.
I appreciate you sharing all of your knowledge! Very thorough information!
Excellent guide for photography buffs.